Add the Pinterest tag to Google Tag Manager to find out how much Pinterest influences traffic to your store and sales of your products.
The base code has to be installed across all pages of your website and gathers data about different events, like when someone buys a product, or adds a product to their shopping cart.
- Log in to your Pinterest business account
- Click
the hamburger icon at the top-left of the page - Under Business, click Conversions
- Click Get started
- Select your connection source, then click Continue
- Click Skip
- Select Google Tag Manager, then click Continue
- Follow the prompts to complete installing the base code
- Go to Google Tag Manager to confirm the newly created tag
- To use enhanced match, click the tag to open the Tag Configuration. Click the plus icon below Hashed Email and choose your website's data layer variable for the email or create a new one.
Event codes let you measure the impact your Pinterest ads have on certain onsite actions. They’re also necessary if you want to
Before you install your first event code, you have to install the base code. The base code should always be set up to fire before the event code.
Keep in mind that you’ll have to follow the steps below each time you add an event.
- Go to Google Tag Manager and click Add a new tag.
- Enter a name for your tag at the top of the screen where it says Untitled Tag.
- Click Tag Configuration.
- Click
the search icon the top-right corner of the page and start typing Pinterest in the search bar. Click Pinterest Tag when it appears below. - Enter your Pinterest tag ID from your Pinterest account’s Conversions page below Tag ID.
- You can also choose a variable to reuse by clicking
the plus icon next to Tag ID.
- You can also choose a variable to reuse by clicking
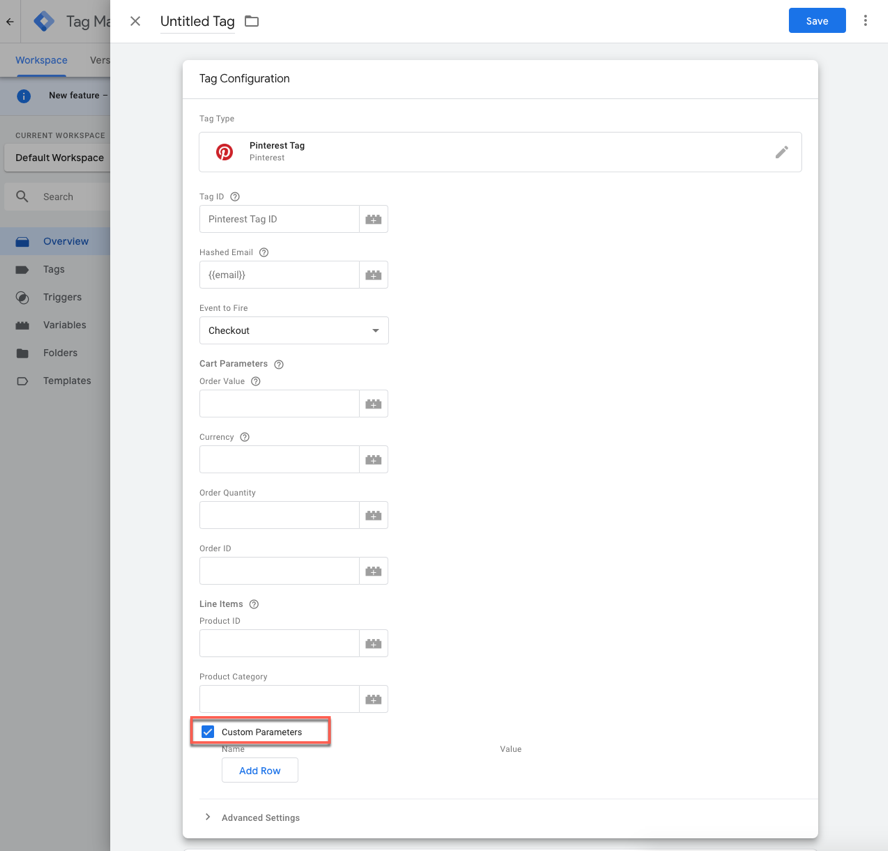
- Click the dropdown menu below Event to Fire and select the event you’d like to track on your website.
- Depending on what you choose, optional inputs will appear. You can enter a value or click the brick icon and choose the data layer variable for the relevant event data.
- For addtocart, checkout, and pagevisit event tags, you can add a dynamic variable for product_id event data for audience creation and retargeting.
- The product_id dynamic variable does not need any extra syntax, it just needs to populate the ID that matches your inventory.
- If you expect or want to send multiple product_ids at the same time, you’ll need to set up a data layer variable to use our line_items syntax. See below for the structure and an example of a line_items array.
- Optional: Check the box next to Custom Parameters for audience targeting.
- Click Advanced Settings, then select Tag Sequencing.
- Check the box next to Fire a tag before <your tag> fires.
- Click Select Tag and choose the base tag you set up previously from the dropdown menu.
- Click Triggering and select the specific action or page where you'd like your event to fire.
- Click Save at the top-right corner
- Click Submit to publish the change
You can enter multiple product IDs at once to track traffic on all of your products.
- Go to Google Tag Manager.
- Click the event code or tag you want to add product IDs to.
- Select an event from the Event to Fire dropdown menu.
- Check the box next to Custom Parameters. Leave Product ID and Product Category under Line Items blank when you’re adding custom parameters.
- Click Add Row to add a variable.
- Enter a name for your variable below Name, then click + below Value.
- Select an existing variable from the list or click + at the top-right corner to create a new variable.

- Click Triggering to set any triggers needed for your site.
- Click Save.
In order for this to work, you'll also need to create a data layer variable called "items" on any page you want to set the product IDs and product categories. You can set all of them here:
<script>
  dataLayer = [{
    items : [
      {
        product_id: '1414',
        product_category: 'Shoes'
      },
      {
        product_id: 'ABC',
        product_category: 'Toys'
      }
     ]
    }];
</script>
Once you've added the data layer, deploy or save your website's code.
You can also include event ID information for deduplication purposes.
- Go to Google Tag Manager
- Click the event code or tag you want to add product IDs to
- Click the field below Event to Fire, then select an event from the list
- Check the box next to Custom Parameters
- Click Add Row to add a variable
- Below Name, enter ‘event_id’ as the name for your variable, then click
the plus icon below Value to provide a value- Note: The Value should be dynamically generated for each event in order to be unique to the event
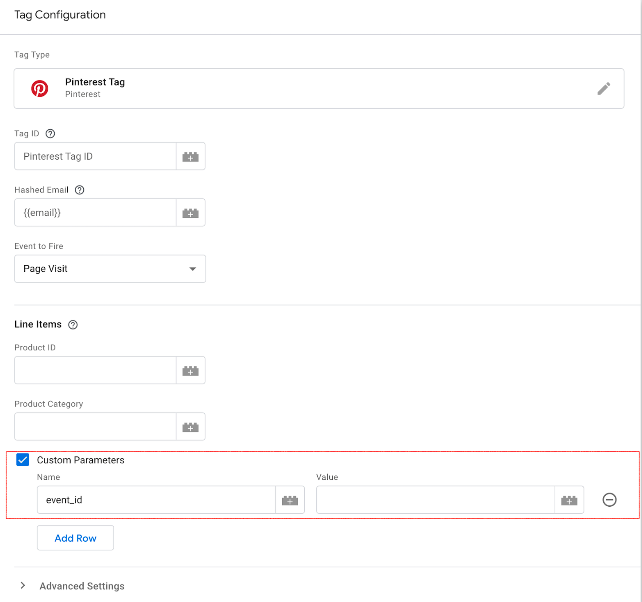
- Note: The Value should be dynamically generated for each event in order to be unique to the event
- Click Save
If you’re using a